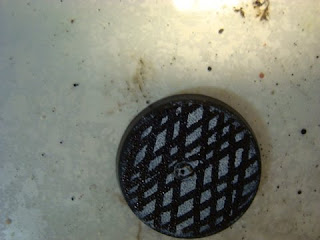
a) boring bases
b)make them your self.
Now there is already some great tutorials out there but none of them really fill my most important criteria of "piles of rubble," so I thought I'd make my own. I actually got a bit lucky as I found the right ratios first time around so saved my self a bit of time with trial and error, but on with the tutorial!
Materials:
- Some Plaster of Paris (I got a 1kg bag that's never going to run out for a measly $5)
- Fine Sand (preferably have some coarse sand available to)
- Water
- Cheap brush and plastic spoon (unless you want to cover your eating cutlery with sand)
- PVA Glue (also known as white glue)
- Pieces of chopped up spruce (pieces from your bits box can also come in handy)
- Disposable plastic plate (included as something to mix on and also not to wreck my pallet)
Method:
- Before starting you need to prepare the base, for this I'd recommend using a knife to cross hatch lines into the base to give the glue a chance of attaching. (note. I also applied this straight onto plain sand glued down with PVA and this worked well)
 |
| Black lines being where you would cut. |
- For a flying bases worth I used a about a spoon's worth of plaster combined with about half a spoon of sand. To this I added some water mixed with PVA and a couple of drops of pure PVA.
- When this was the consistency of whipped cream I slathered it on to the base. Then I pushed in little rocks, and pieces of rubble, sprinkled some coarse sand on and the covered any gaps with more fine sand.
 |
| If you end up making to much you can smooth it out on a plate, wait for it to dry and then break it up and uses it as rocks next time. |
- When this was dry I selectively added some more sand to places (this was to help rocks and the like to blend in) and then I painted on a mixture of glue and water.
- After this is painting and application of static grass, a step I have admittedly not gone up to yet.
 |
| A couple I did up earlier (sorry just had to include the line) |
 |
| And with models. |


No comments:
Post a Comment